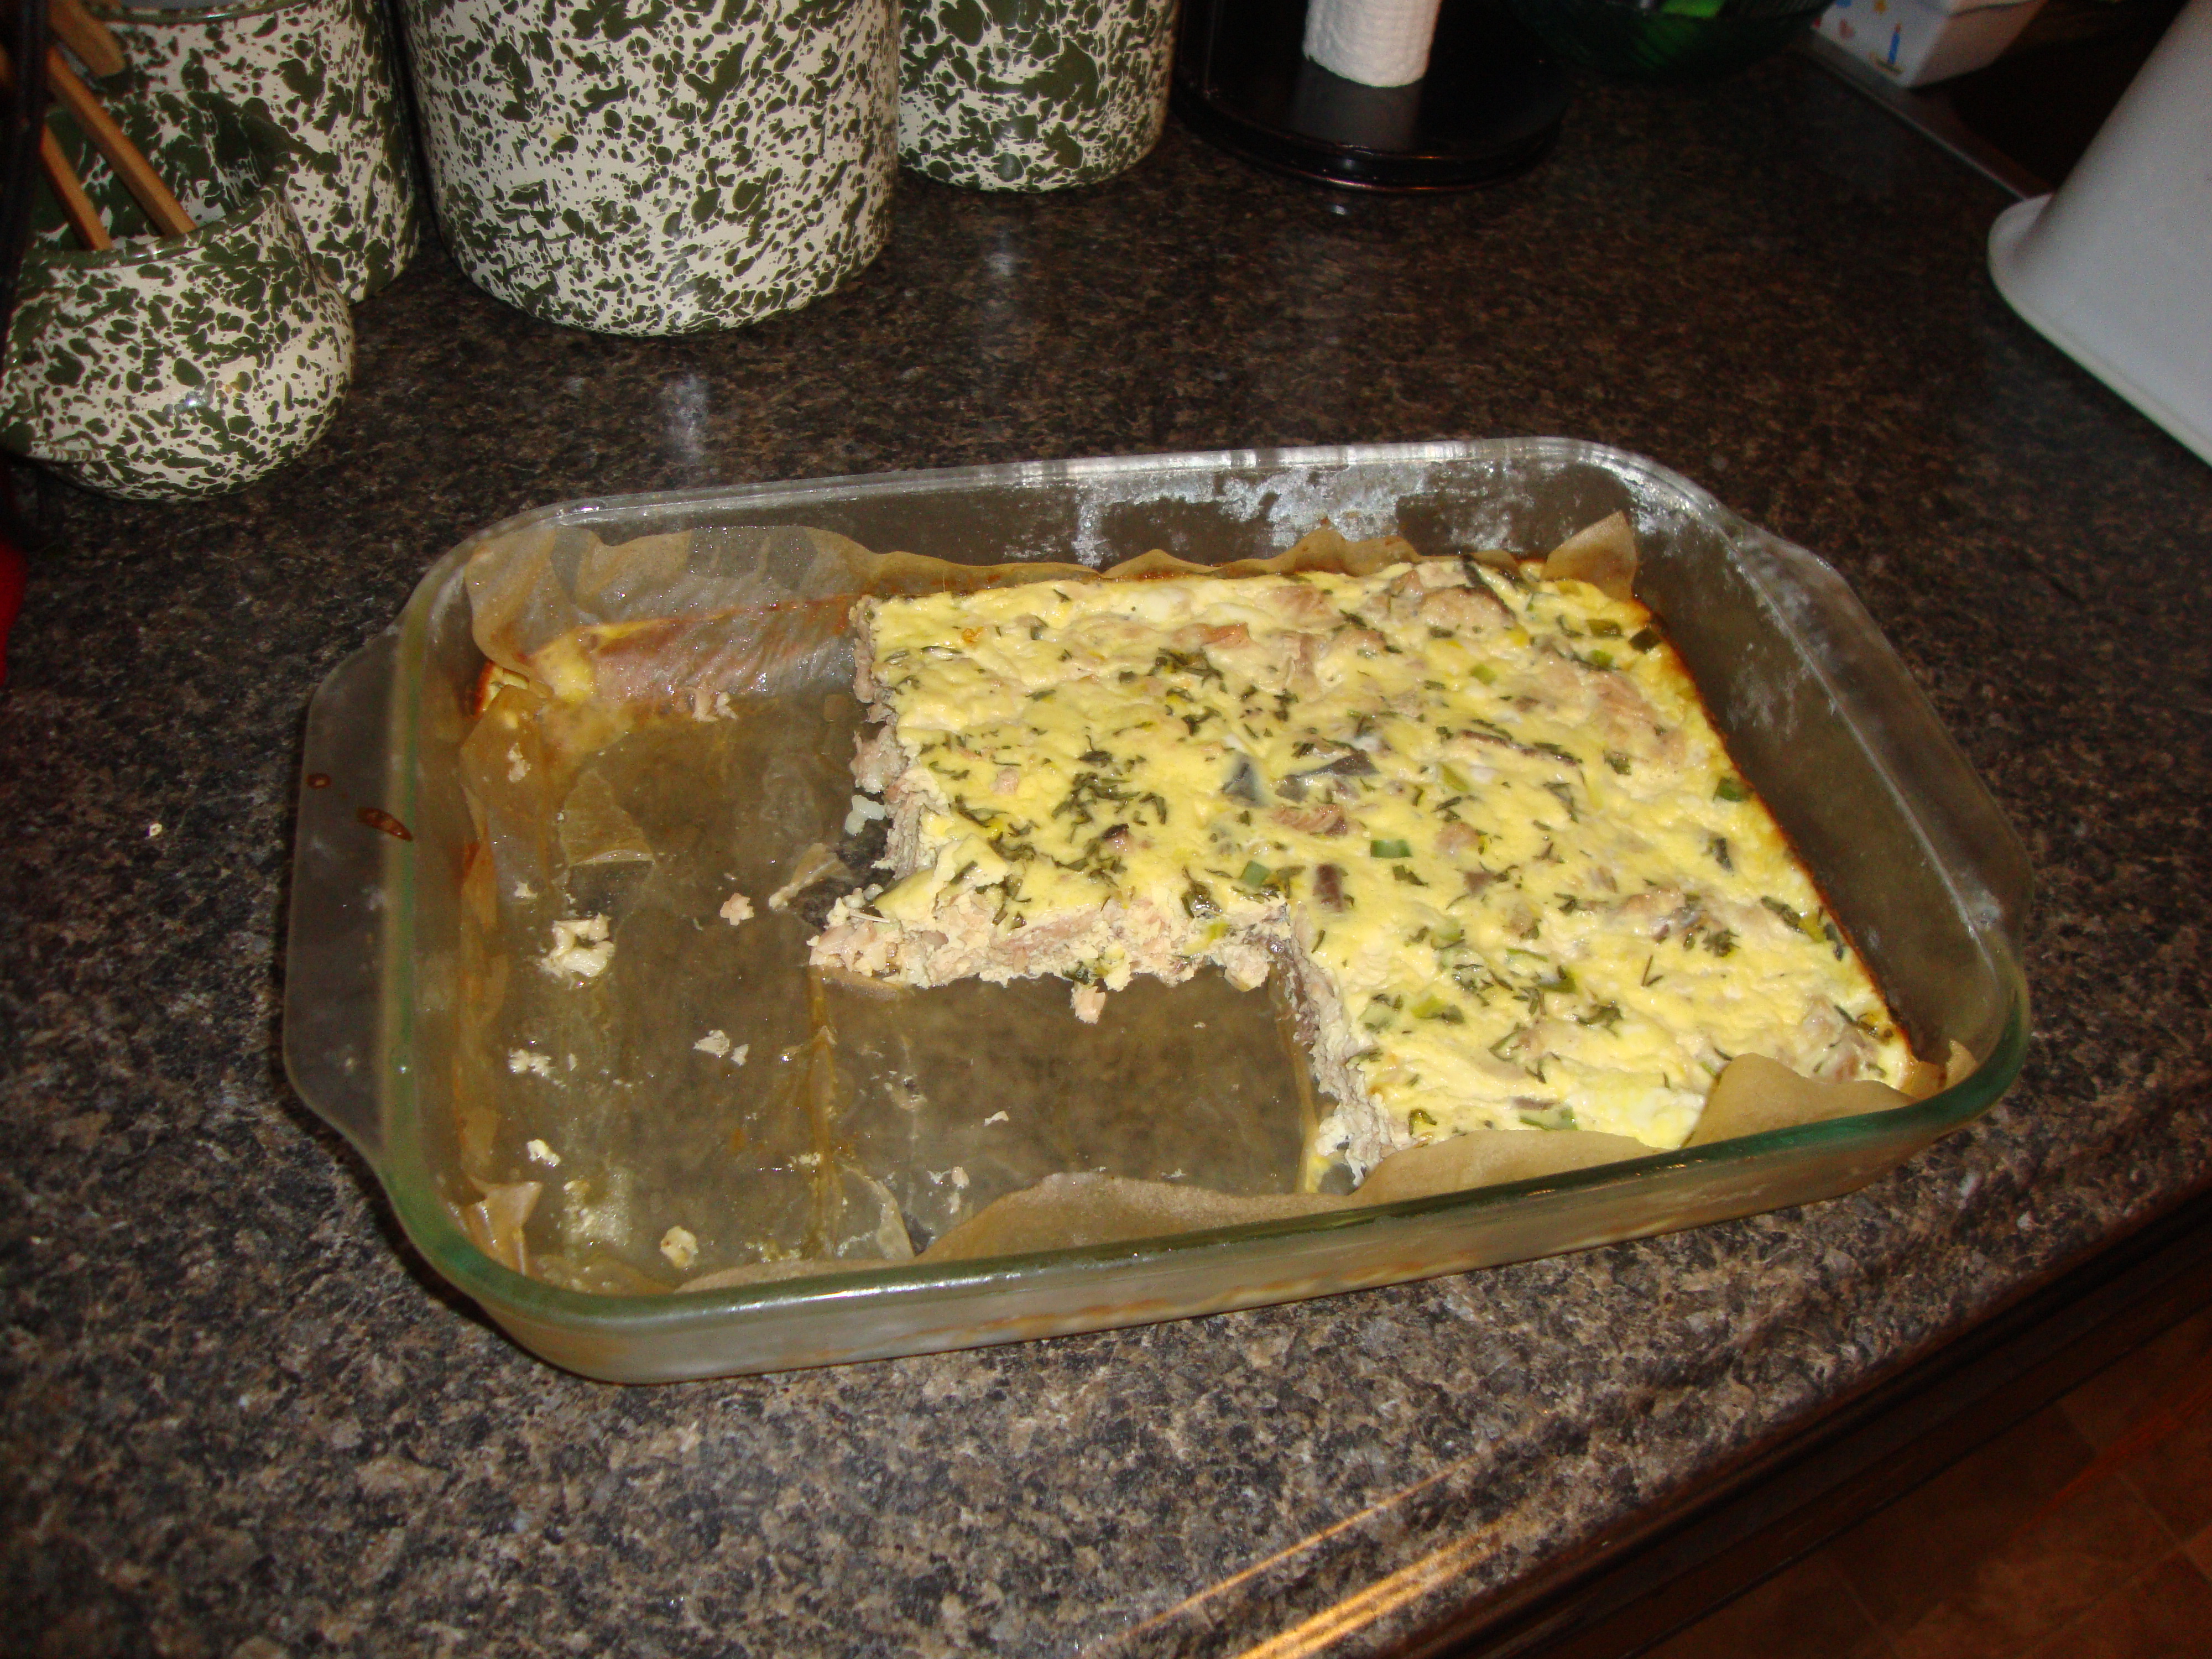
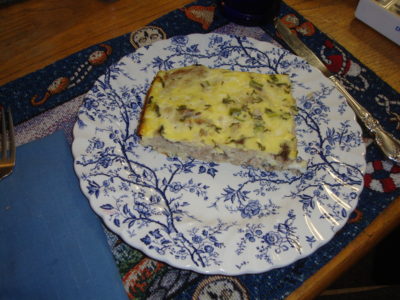
Quiche au Saumon sans Croûte

Yes, that’s French for “Crustless Salmon Egg Pie”. I figure if we’re going to use French for the egg pie bit, well, in for a penny, in for a pound. We had received several cans of salmon from the food bank. We usually turned these into salmon croquettes. They are not particularly ketogenic, however. Bethann did make some keto modified ones for me the last time she made croquettes, by substituting riced cauliflower for bread crumbs in the recipe. They were tasty enough, but they didn’t hold together so well. That’s what she was going to do last evening, but she was too tired to cook, when she came home from sewing club at church. So, the salmon was my puzzle to solve.

I entered “crustless salmon quiche” into DuckDuckGo in my browser. The second hit was this simple recipe from down under called Crustless Salmon Quiche (imagine that!) that I enjoyed reading, including all of the questions and replies. Then I winged it. We didn’t have most of those ingredients on hand and Bethann can’t stand dill. It turned out great! Here’s my ‘recipe’:

Ingredients:

  • 9 Medium Eggs
  • 4 – 7 ounce cans Wild Alaska Pink Salmon
  • 8 ounces 4% milkfat Cottage Cheese
  • 1 cup Whole Milk
  • ~1/4 cup chopped Scallions
  • ~1 teaspoon Tarragon Flakes
  • 4 twists Black Pepper from mill on medium
  • a couple good shakes of ‘Lite Salt’
Quiche au Saumon sans Croûte

Directions:

Lay a sheet of parchment paper in the bottom of a greased 9″x13″ baking dish. I sprayed it with olive oil. (We obtained a plastic, pump bottle of olive oil spray a couple of years ago. I keep refilling it. It’s much cheaper and better for the environment than the aerosol cooking sprays.) Lightly spray the top of the parchment paper, as well. Preheat the oven to 350º.
Whisk the Eggs and Milk together in a bowl. Add the Tarragon, Salt, Pepper, Cottage Cheese, and Scallions and stir together.
Pour this into the baking dish. Squeeze the excess liquid out of the cans of Salmon (into your cats’ bowl, preferably). Break it up and distribute it evenly throughout the dish. Put it into the oven and bake for about 45 minutes. Make sure it’s done.
Cut. Serve and eat.

It makes about 8 meal sized portions. It could be cut into smaller portions to be part of a buffet or snack tray. Unused portions may be safely frozen for use later.

Coffee, Tea, Cardamom

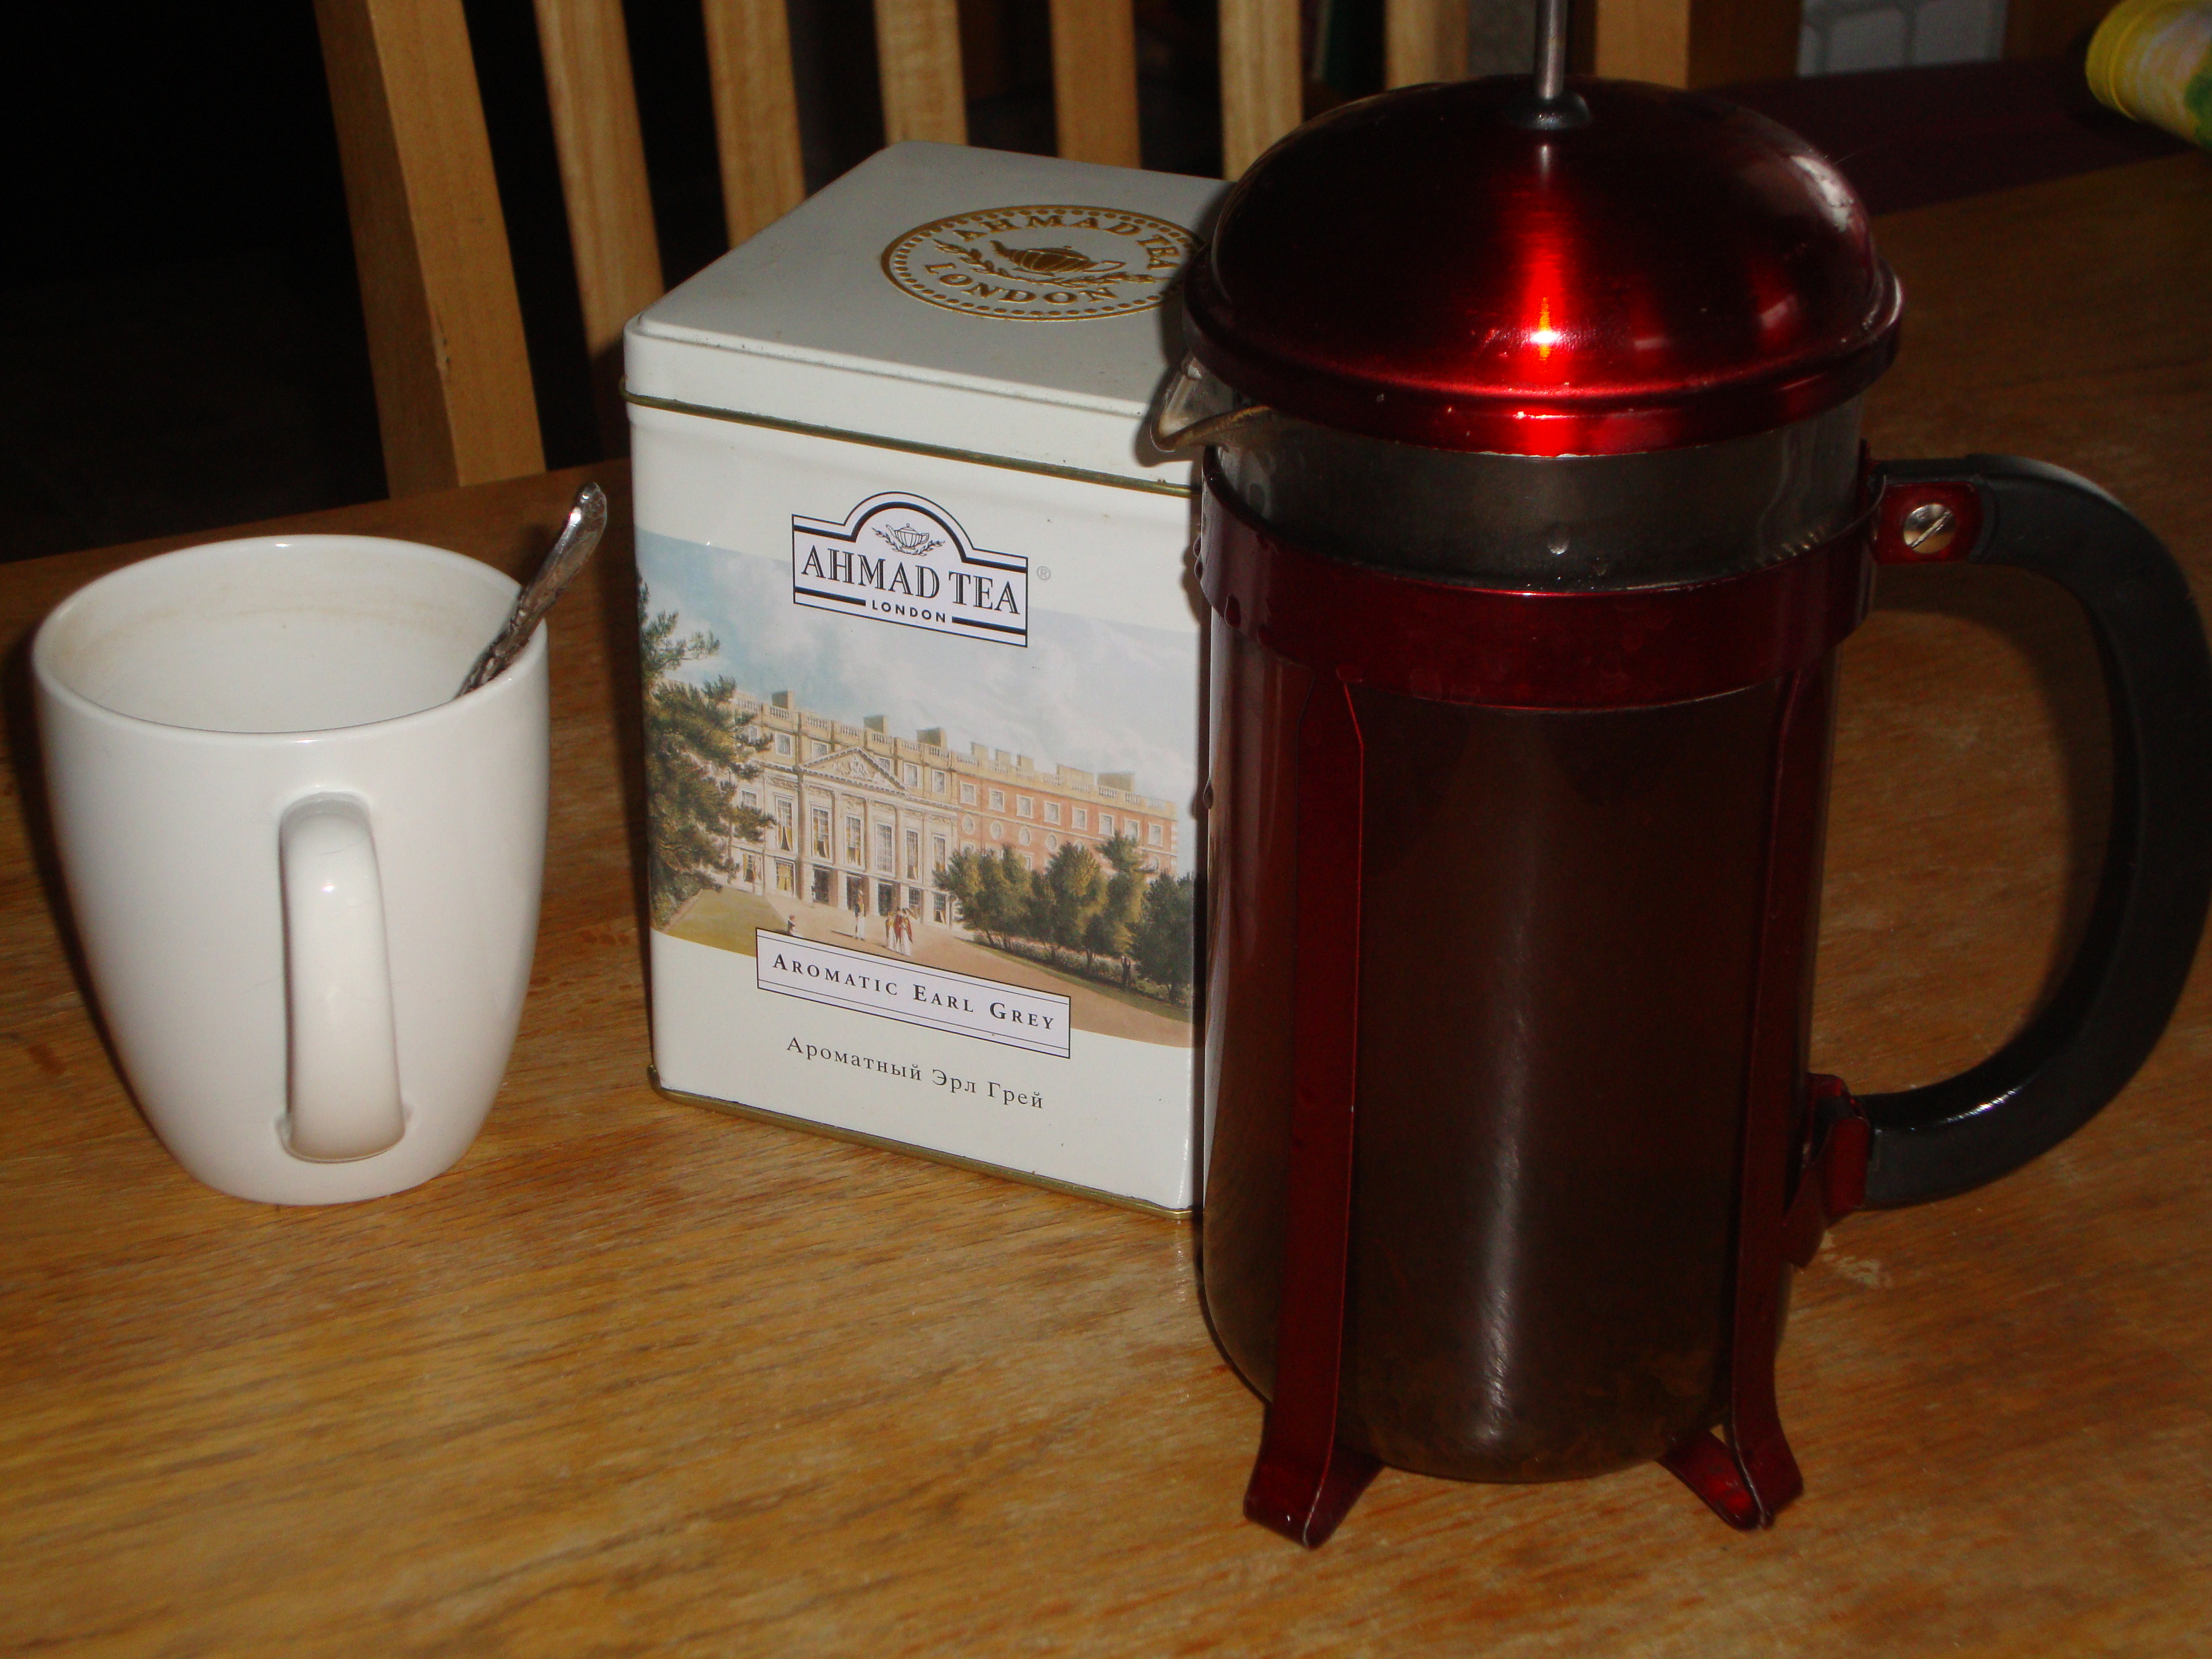
I guess this is more like a couple of simple lifehacks than a recipe. We were at our daughter’s place visiting her and the granddaughters. I wanted to make Red Bush Tea for them as a taste of Botswana. It is called Rooibos in Afrikaans. We learned about it from reading The #1 Ladies Detective Agency books, and ordered it from Adagio tea company. Lydia didn’t have a little strainer to catch the loose tea while pouring. So, I decided to make it in her French press. It worked wonderfully! I don’t know if this is a common use for a French press, but I had never heard of it or thought of it before. Now I use my French press to make tea whenever I want more than one cup. It is so much easier and neater than using either a tea egg or a strainer.

I really do not want to use sugar in my coffee. I will not use chemical sweeteners. Some of the coffee we get from the food bank is bitter. I had seen coffee and tea with cardamom in stores. So we bought a small container of ground cardamom from Centerville Bulk Foods for about two dollars. I put a generous, three finger pinch in the three cup French press and stir it in with the coffee. It tones down the bitterness, without weakening the coffee at all. It does not have a strong flavor. It just adds an earthy note. It is a healthy way to avoid sugar. Cardamom is the third most costly spice by weight after vanilla and saffron. However, a little goes a long way. It is also reputed to have many health benefits.

Popovers (Yorkshire Pudding)

Popovers (The Brits call them Yorkshire Pudding.) are a simple, wonderful treat to upgrade any meal, or all by themselves for a snack.  I have enjoyed them all of my life. It was only recently that I learned how simple they are to make. Most recipes are for one or two dozen. There are only two of us, now, so that would be far too many. They are best served fresh and hot, so we would either end up wasting food or having to wait for a special occasion with a larger gathering. So this recipe is for six popovers, which is just the right number for two. The recipe is so simple that I have made them to go with breakfast, lunch or dinner.

It is important to follow the recipe and to pay attention to temperatures in order for them to turn out right. Chemistry is involved.

Ingredients:

  • 3 eggs, preferably at room temperature
  • 1/4 teaspoon salt
  • 1/2 cup milk, preferably at room temperature
  • 1/2 cup flour. I use unbleached all-purpose flour.
  • olive oil

Directions:

Start the oven heating to 450° F. (If you forgot to leave the eggs out of the refrigerator to warm while you were taking your shower, you may want to set them on the back of the stove top to let the venting oven warm them a bit.)
Get your muffin tin out and oil 6 of the cups. I spray my tin. Refillable pump bottles are available which are more environmentally friendly than the aerosol type. Just be sure to give all of the cups you are going to use a generous coating. Then place it in the oven to preheat.
In a small mixing bowl or pan, whisk the eggs and salt until they are just mixed and a uniform yellow. Don’t overdo it. Add the milk and whisk together with the eggs and salt. Then mix in the flour until the batter is smooth with few to no lumps.
Once the oven comes to temperature, use hot pads to remove the muffin tin from the oven. The oil may look scorched. This is normal. Carefully pour the batter into 6 cups, trying to distribute it evenly. The cups should be slightly more than half full. There should be enough oil in the cups for it to climb up the sides of the tin enough for you to see it.
Place the tin in the oven and bake for 15 minutes. At 15 minutes, reduce the oven temp to 325° F. Look at the popovers, which are now puffed up tall. Decide how dark and crispy you want them to be and set your timer accordingly.  My mom, B.J., made popovers that were dark and crunchy on the outside. We prefer ours golden brown and a bit softer.  For softer, you make bake for as little as 5 additional minutes. For crunchy , bake for an additional 15 minutes.
After you make them a couple of times you will learn how your oven acts and what your preference is.

We serve them hot. We have our knives and butter ready! Most of the time they have holes in the bottom and we put a knifeful of butter in there , squeeze it a bit to help it melt, then munch it down. It’s good to have cloth napkins to clean up the flowing butter off of our faces and hands. These are a great side for bacon and eggs or next to a good soup or stew.

If you are having a party or have a larger family, just multiply the recipe for as many as you need.

Enjoy!

Best Use for Spaghetti Squash Yet

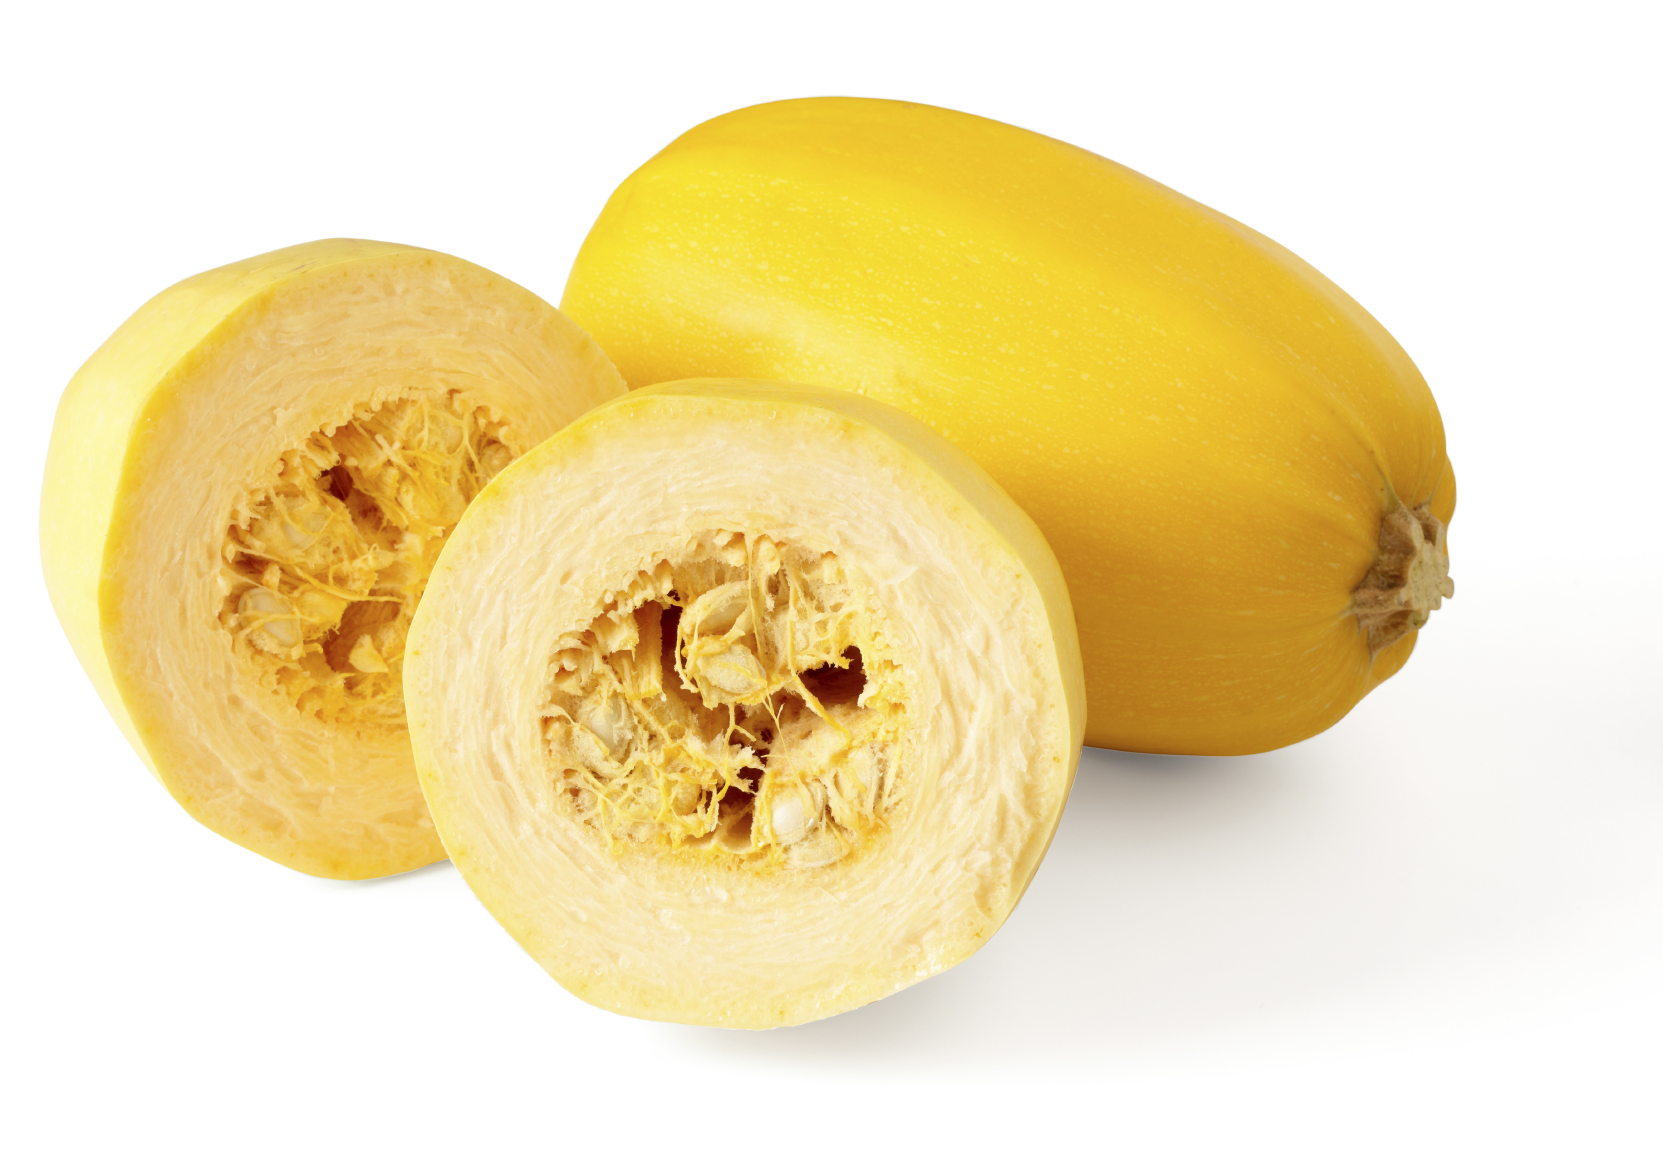
For years, I was subjected to the practice of using spaghetti squash as a substitute for spaghetti. I am not a fussy eater. I generally like everything. I would eat the spaghetti squash with the sauce, but it was always a slog, never a delight. Recently, we received a spaghetti squash from the local food bank. Bethann had found a recipe online for “Spaghetti Squash Fritters”. I made them the other night. It was a simple recipe, although the way it was written was confusing and needlessly specific. I mean, do I really need to be told what kind of salt to use, or what spice I want in my fritter? (“Sea salt and pepper”) Do I need to be told, down the author’s snoot, to use “ghee, real lard, or coconut oil”? For breakfast, this morning, I fried a slice of bacon and used the grease left in the cast iron skillet to fry my spaghetti squash pancakes.

I think not.

We are all mature enough to use gas stoves without adult supervision. We can make our own decisions as to which spices or cooking oils we prefer to use. This “recipe” is more of an idea than a true recipe; like an omelet or scrambled eggs. I have tried a few variations with that single squash. I am sure there are dozens and dozens more. Here goes.

(I’m writing the instructions for rank beginners.)

  • Cut the squash in half. Scoop out the seeds and discard.
  • Place the halves face down in a shallow baking pan, in a half inch of water and bake at 350° F until fork tender. (approximately one hour)
  • Use a Tablespoon to scrape out the meat of the squash. It will come out in strands. Have about a quart sized bowl ready for this.
  • For each small batch of Fritters or Pancakes, you will need 1 cup of un-squeezed squash, so measure and divide it into 1 cup bowls or cups.
  • Squeeze each of these down, draining the excess liquid out. This will reduce the volume to about half.
  • Set aside all but one of the portions. You can put them in containers and refrigerate them or freeze them for later use.
  • In a bowl, add 2 eggs to the squash, along with your spice of choice.
    I have used Curry, Ginger, Parsley, Pepper and Turmeric for a dinner side dish.
    I have used Lawry’s Seasoned Salt and Italian Seasoning for a lunch entree’.
    I have used an additional egg, 1/2 teaspoon nutmeg and 1/2 teaspoon cinnamon and served with a little genuine maple syrup for gluten free, high fiber pancakes.
  • Mix together with a fork.
  • Use oil of your choice. Fry in skillet until brown.


Chicken a l’Orange with Quinoa

This is a simple, economical, nutritious recipe that I whipped up because we didn’t have any brown rice; quinoa is too blah to just dump mushroom soup on; so I looked in the refrigerator for alternatives. It turned out to be a refreshing change of pace. It is simple to throw together. Here goes!

Ingredients:

  • 3 or 4 Chicken Legs (Breasts would work just as well, if you prefer white meat)
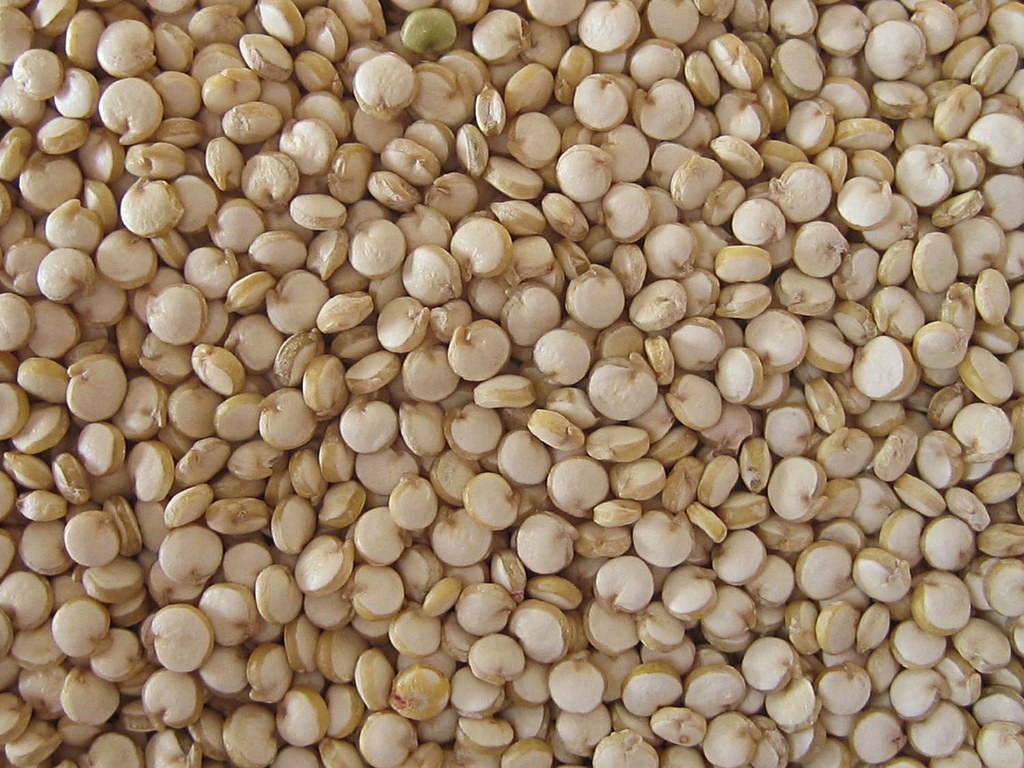
  • 1 cup Quinoa
  • ~3 T Avocado Oil
  • 1 Tablespoon Cinnamon
  • 2 cups water
  • 3 Oranges

In a medium sauce pan, toast the Quinoa in the Avocado Oil until aromatic, then add water, juice of one orange, and 1/2 Tablespoon Cinnamon and boil for at least five minutes, stirring often. Cover and turn off heat. Peel and segment two remaining oranges. Spread the Quinoa in a 10″ x 13″ baking pan. Lay the chicken pieces on top. Slice lengthwise and butterfly spread each segment of the oranges and place them on top of the chicken and the quinoa. Sprinkle remaining Cinnamon over the chicken. Add a few ounces of water to the pan. Bake at 375ᵒ for about an hour, until the internal temperature of the chicken is at least 165ᵒ.

Serve it with a green vegetable of your choice or a salad, and you have a balanced meal. We had Brussels sprouts.

Poof da boona!

Ginger, Artichoke, Pepper, Pumpkin Soup!

Last Spring I was at the Perelman Center at Hospital of the University of Pennsylvania for some tests and orientation prior to my open heart surgery. I found this wonderful ginger, artichoke and carrot soup at the little lunch bar off the lobby. It was one of a couple of dozen choices. I spoke with the chef who made it and gave him my compliments. Today was my second attempt to  produce something similar. My first attempt was a complete failure. It was totally overpowered by the ginger. Today, I needed to make lunch and we didn’t have any meat to speak of. We will be feasting tomorrow. I have lots of pumpkin that I froze last month, so this seemed like a simple, healthy meal for the eve of the feast.

Ingredients:

  • 1 quart processed Pumpkin
  • 3 cups Water
  • 2 Carrots
  • ~ 1-1/2″ fresh Ginger, peeled
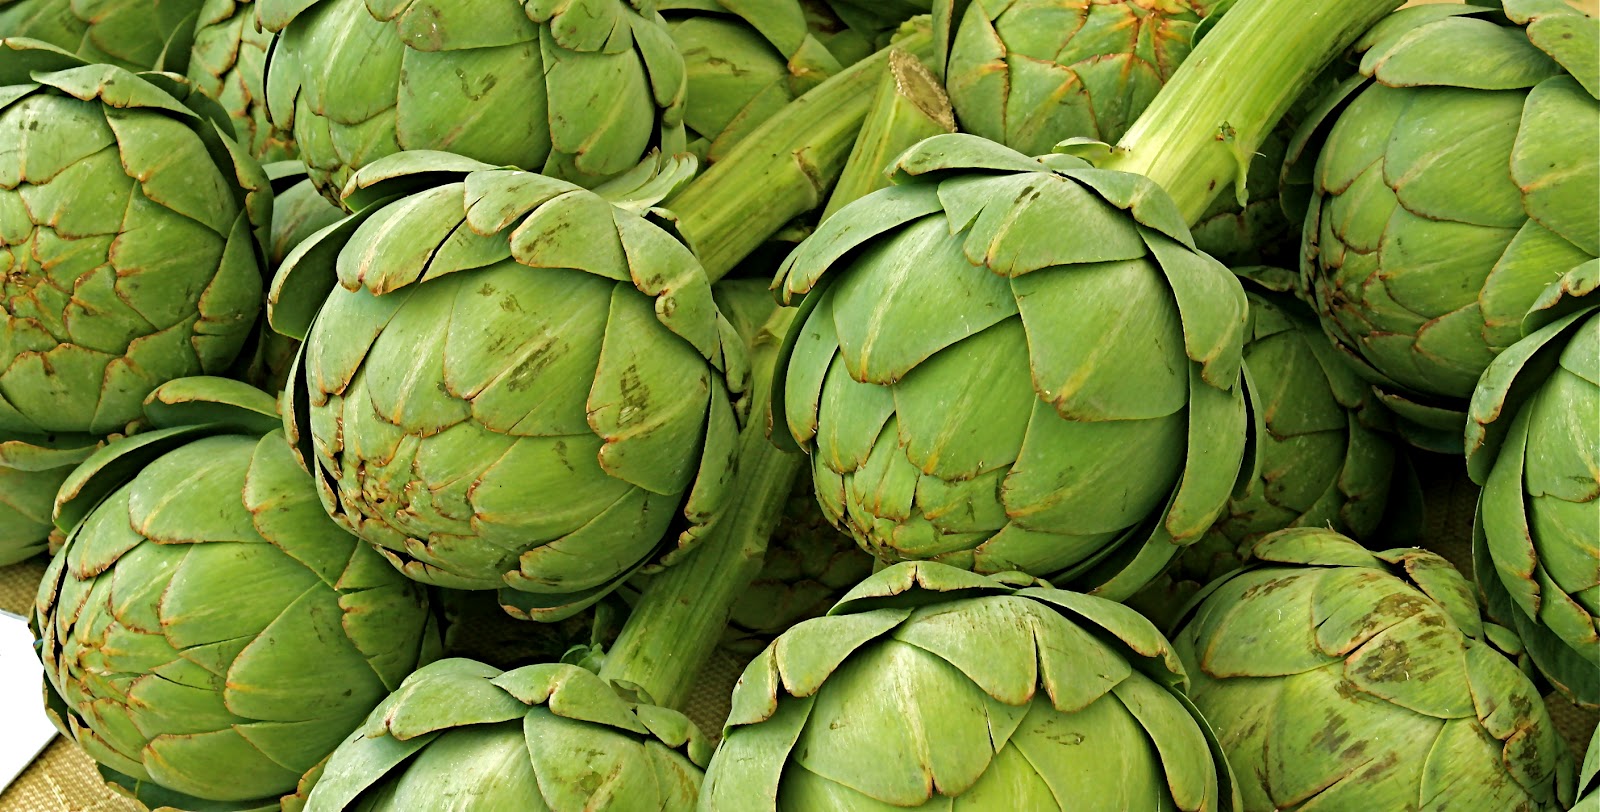
  • 2-6 oz. jars Cento quartered, marinated Artichoke Hearts (Cento has 4% DV sodium compared to 18% for most other brands.)
  • 2 green bell Peppers
  • 2 cloves Garlic
  • 1/2 teaspoon Nutmeg
  • 6 grinds Black Pepper
  • 1/4 cup Olive Oil

Directions:

Thaw the pumpkin ahead of time. Pour it into a medium sauce pan. Start heating on low heat. Stir frequently. Rinse out the remaining pumpkin with the water into Ninja blender. Add the Carrots, Ginger, undrained Artichoke Hearts and Green Peppers. Pureé this mixture thoroughly, then add it to the saucepan. Press the Garlic onto a cutting board and let it sit for 15 minutes before adding it to the saucepan. Have a larger pan with water in it to set the saucepan in, to form a double-boiler. Stack them and use it like a double boiler to avoid scorching the soup. Add the Nutmeg, Black Pepper and Olive Oil. Let the soup heat for an hour or more. 6 to 8 tasty servings. It needs no salt.

Pumpkin Gumbo

I have made several different pumpkin soups. This one was a real winner! I know this is not the season for it, but the scraps of paper I wrote the recipe on just percolated to the top of the pile, so here goes.

Take 1 large pumpkin and remove the seeds. Cut it up and boil until soft in a stock pot. Remove pieces and puree in a food processor. Set aside.

Finely chop 1 large celeriac in a food processor, then toss it into the stock pot to start simmering it in the reserved liquid from boiling the pumpkin.

Finely chop 1 fennel in the food processor, including the fronds, and toss it into the stock pot.

Remove the stem from 1 eggplant, then finely chop it, peel and all, in the food processor and throw into the pot.

Finely chop 3 leeks in food processor and throw it in the pot.

Slice 1 head celery and 1 pound okra in food processor and add to pot.

Add the pumpkin back into the pot.  Set it up double boiler style. Continue to stew.

In a large cast iron skillet brown ~3-1/2 lbs. of ground beef in 2 T olive oil.
Season it with 2 T salt, 1/2 T black pepper and 2 T basil
Add it to the pot and stir it in.

Add 2 t nutmeg, 2 t ground cloves, 2 t cinnamon and 2 T cocoa powder 

Stir regularly. Stew for a couple of hours. It serves a crowd in a very happy, healthy way!

Avocado Fried Rice

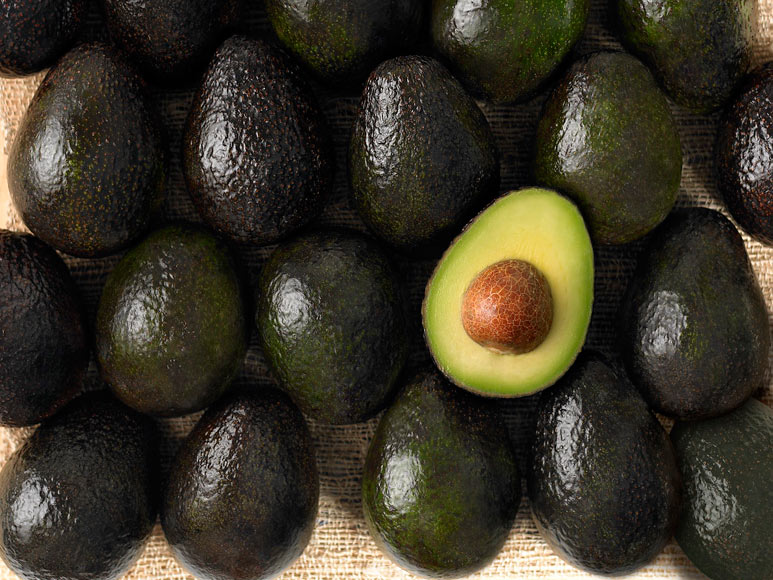
This is something I just whipped up this morning as a side dish for breakfast. It was so tasty, I made it for my main dish for lunch! It’s super easy. We had leftover red rice. It had been boiled with nutmeg in it to give it some added flavor. This morning, I put some sesame oil in the cast iron skillet and heated it up; cube a hass avocado and fry it in the oil, then add some olive oil, then add about  cup to a cup and a half of the red  rice. Fry it up on high heat, turning frequently, until it is the desired crunchiness or softness.

Bon Appetit!

Yellow Split Pea Ham Soup

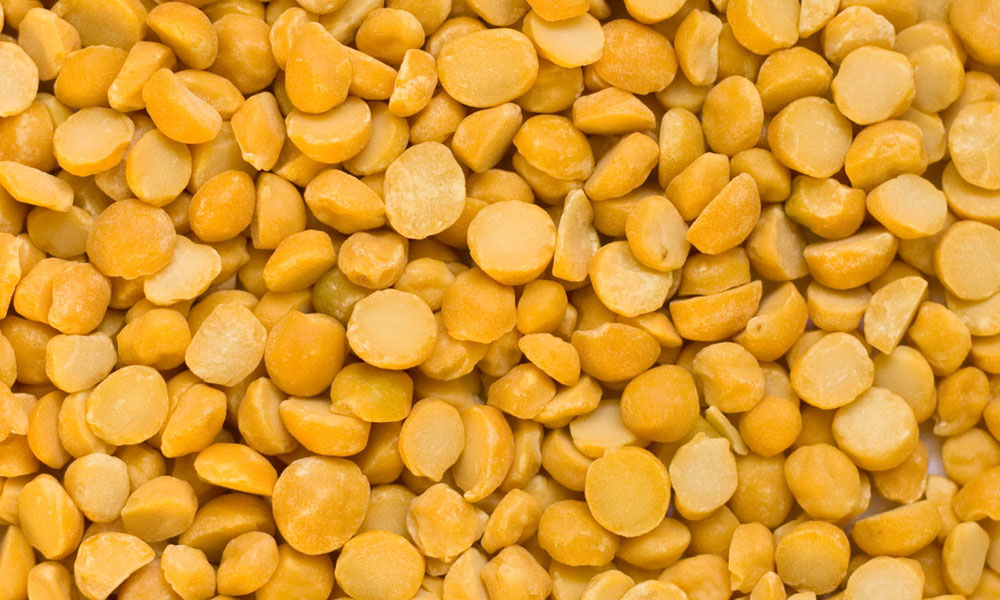
A couple of weeks ago I made the best split pea, ham soup we had ever had. We had a shoulder ham with a good joint bone in it. I went to Assi Market (a Chinese supermarket) with my daughter and granddaughters to buy some seafood, gluten free noodles and green tea. Rather than making another stop, we looked for split peas there. The only selection they had was a four pound bag of large, yellow split peas. I normally use green, but these looked healthy, and convenient, so I went with them. This was the second stop. I had already picked up celeriac, onions, fennel, and garlic at Produce Junction.

Start with the Broth. In a 10 quart pot, simmer:

  • 1 ham bone
  • 1/2 celeriac, cut in chunks
  • 1 large onion, halved
  • 2 tops & fronds of fennel
  • 5 cloves of garlic

Simmer until a nice aromatic broth is created. Strain the broth. Boil in the broth:

  • 2 pounds yellow split peas
  • 1 pound carrots, chopped extra fine in the Ninja
  • 1 large onion, chopped with the carrots in the Ninja
  • 2 cloves garlic, pressed

Add ~1 Tablespoon turmeric and generous grinds of black pepper. Add cubed ham back to soup. Warm a bit longer. Serve. It is thick and hearty, and oh so tasty!

Mango Ginger Pork

The name is practically the recipe. It’s that simple!

Last night, we had failed to thaw meat for dinner, so I scoured the meat case for a bargain. I found a pack of about 3-1/2 lbs. of boneless pork loin cuts for $2.49/lb. I usually like to do these on the Weber Kettle charcoal grill to add that smoked flavor and keep them tender. It was a miserable rainy day. I had to get creative. I grabbed a box of Mango nectar on sale for 80 cents and we were good to go!

When I got home, I fired up the oven at 350º convection to start warming up. I got the 15″ cast iron skillet off the wall and heated it up with some olive oil coating the bottom. Then I barely seared the pork in it. I sprinkled a generous amount of ground ginger on top and poured as much of the liter of mango nectar as would fit in the pan; probably about half. I put this in the oven.

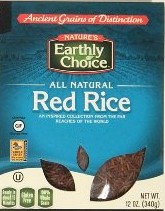
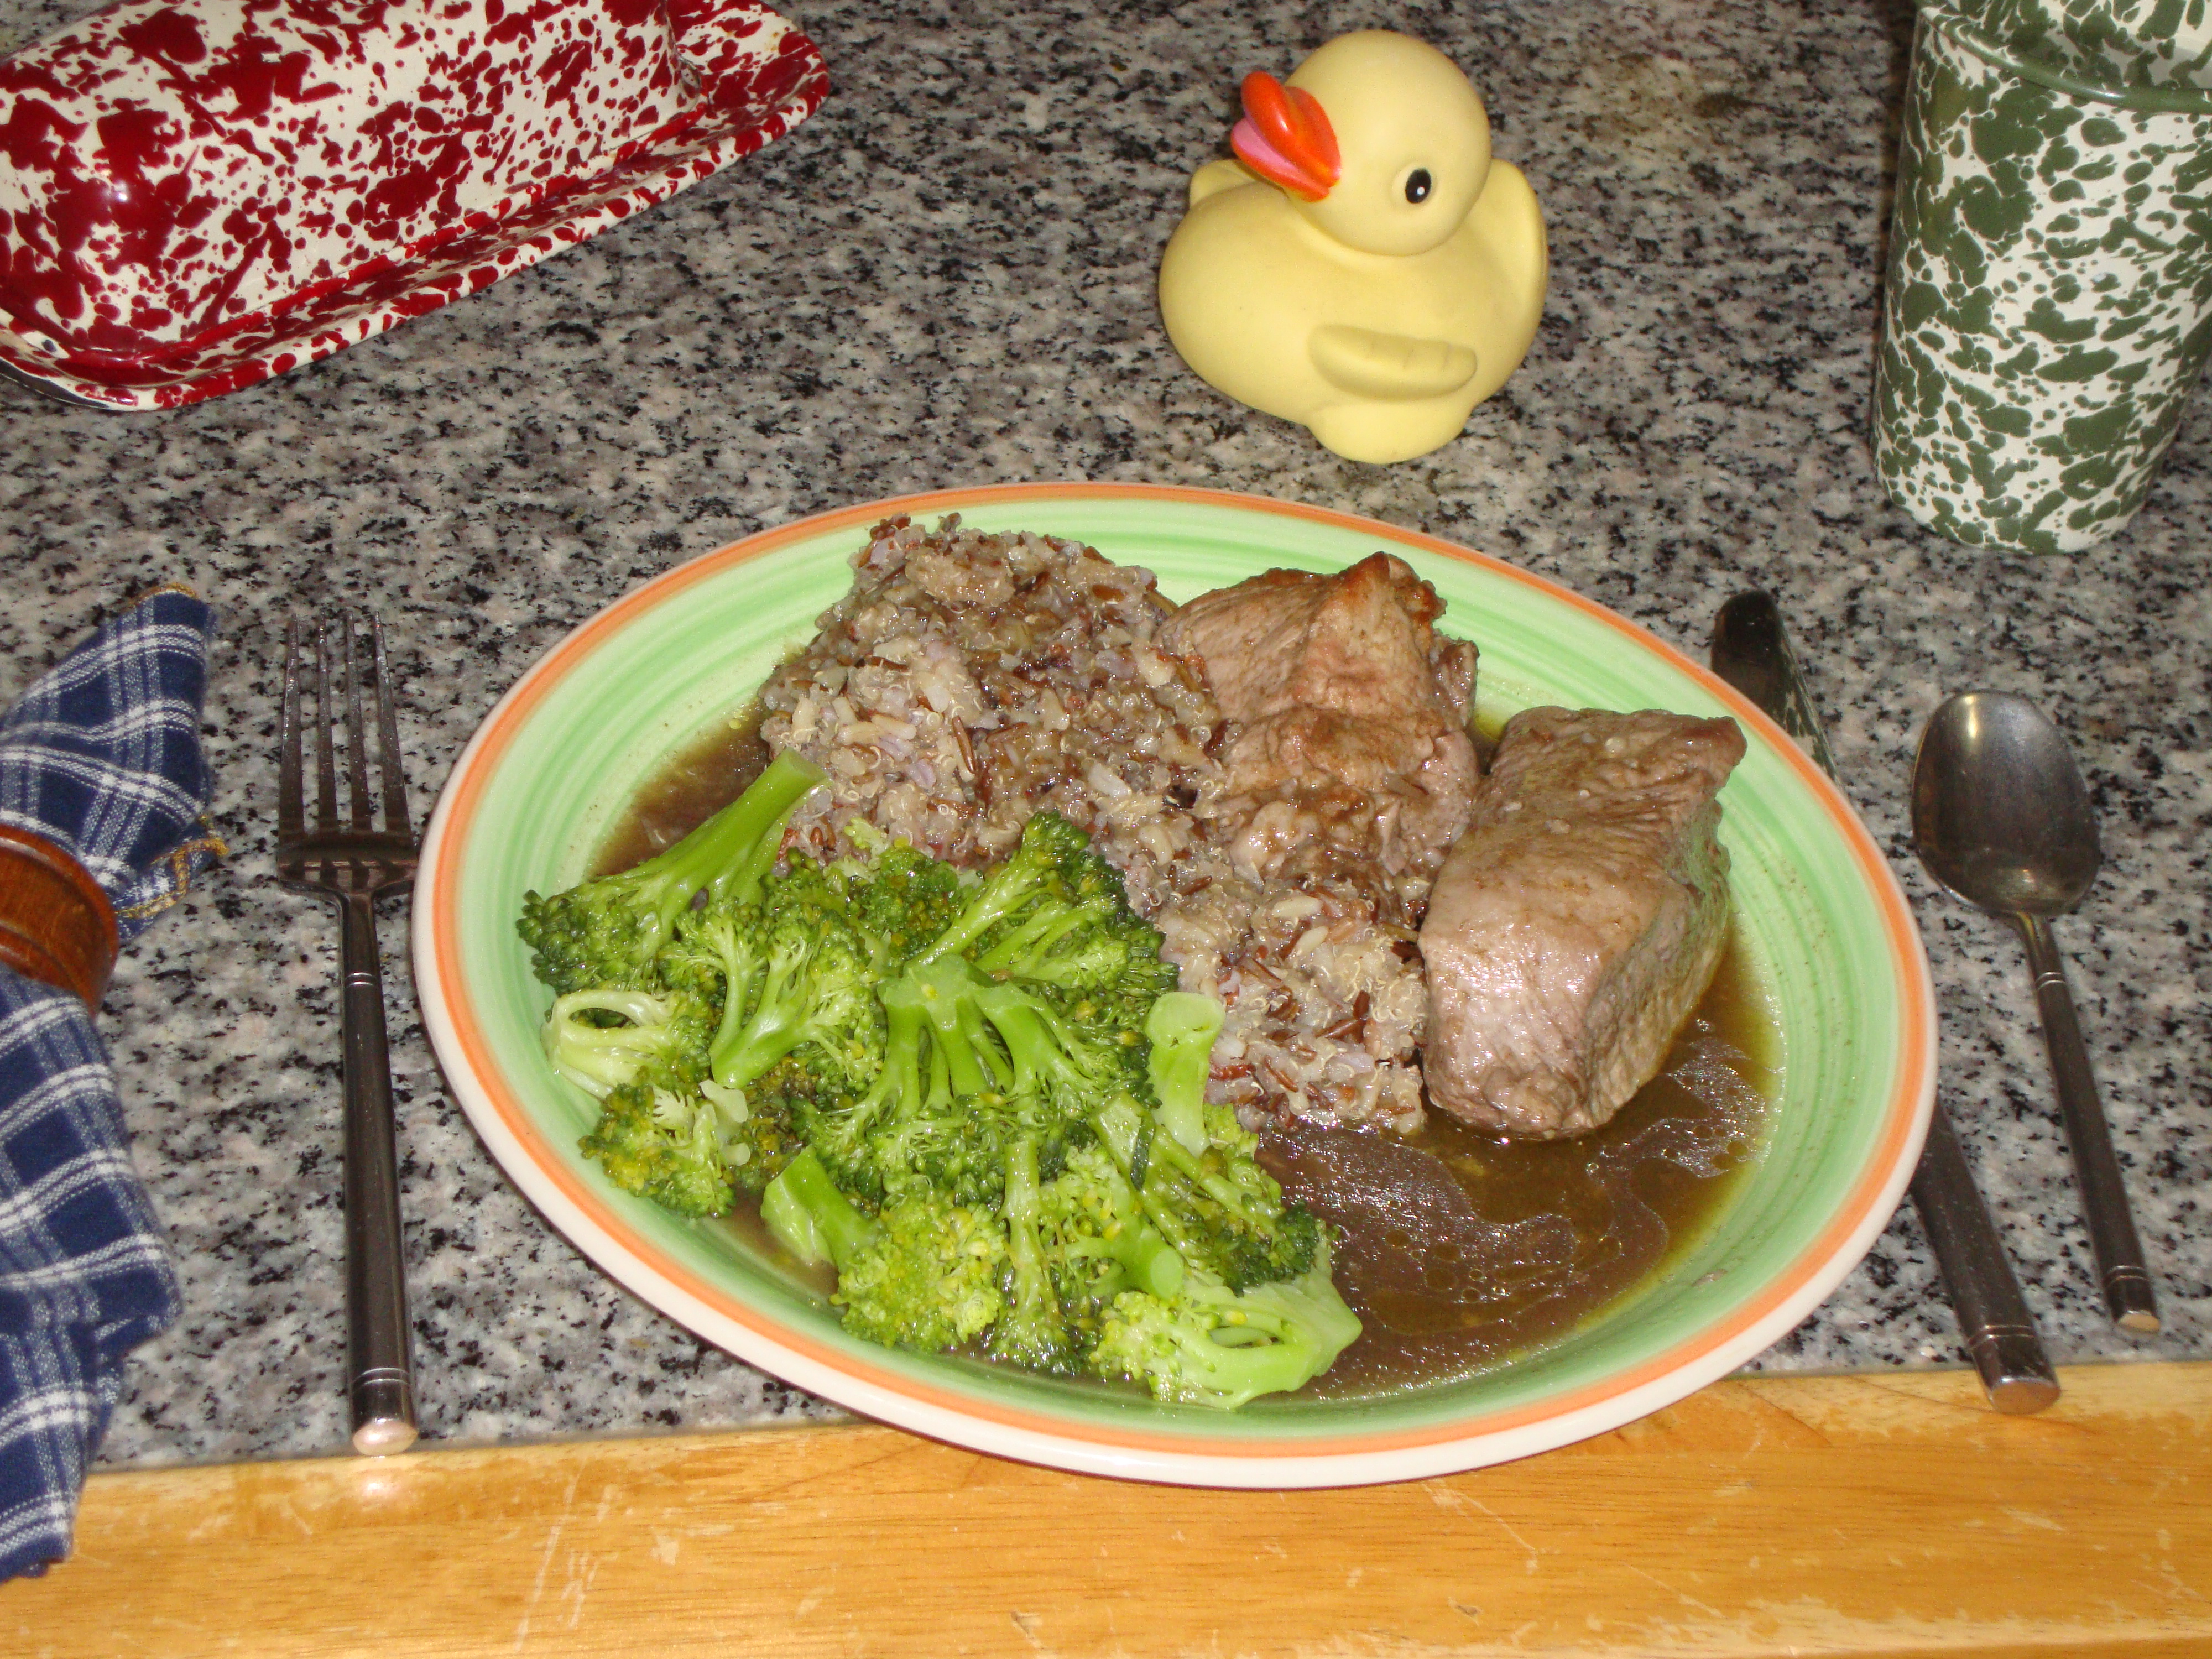
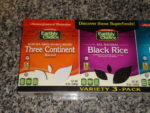
Then I got out the rice cooker and put the Three Continent Grain blend into it with the appropriate amount of water a glug of olive oil and a half teaspoon of nutmeg. After the pork had baked for about 10 minutes, I turned on the rice. When the pork and rice were done, I heated peas. Pictured here, is broccoli. These are leftovers reheated for lunch. Yum! I get the grain mix at Costco, but I called the manufacturer. It can be obtained at Acme, SafeWay, BiLo, etc., all across the country. It’s great stuff, and far superior nutritionally than standard white or brown rice. (I usually don’t plug products. I should have arranged to get something for this.) You may find availability and more info at info@earthlychoice.com

The rubber ducky is on the table, because it was in the kitchen to get washed while I am painting the duck themed bathroom where it usually abides. There will be more about that in another article.

The pork was a huge hit! It was savory, juicy and tender. It was done in about 30 minutes. This is a salt-free recipe that won’t leave you looking for the salt shaker. The ginger gives it that snap! The mango gives it mystery. It’s not expected. Most will not guess it. Ginger is a powerful anti-inflammatory, so it’s good for you, too.